

Hi everyone!
In this tutorial, I'll show you how to host your own Decap CMS (formerly known as Netlify-CMS) backend without the need for another external service.
Decap CMS is a git based CMS for Static site generator like eleventy or hugo that's simply to use and easy to deploy, but the problem is that you need to use Netlify to host the backend, and this is not good for some people, so I'm writing this article to show you how to host your own backend.
By the end of this article, you will be able to host Decap CMS and have a fully functional content management system that you can use to build your website or blog.
Prerequisites
Before we begin, make sure you have the following:
- A GitHub account
- A server to host the Decap CMS
- nothing else!
Step 1: Create OAuth Application
We will use GitHub as the OAuth provider for our Decap CMS backend, So to create an OAuth application, you will need to:
- Go to the Github OAuth settings from
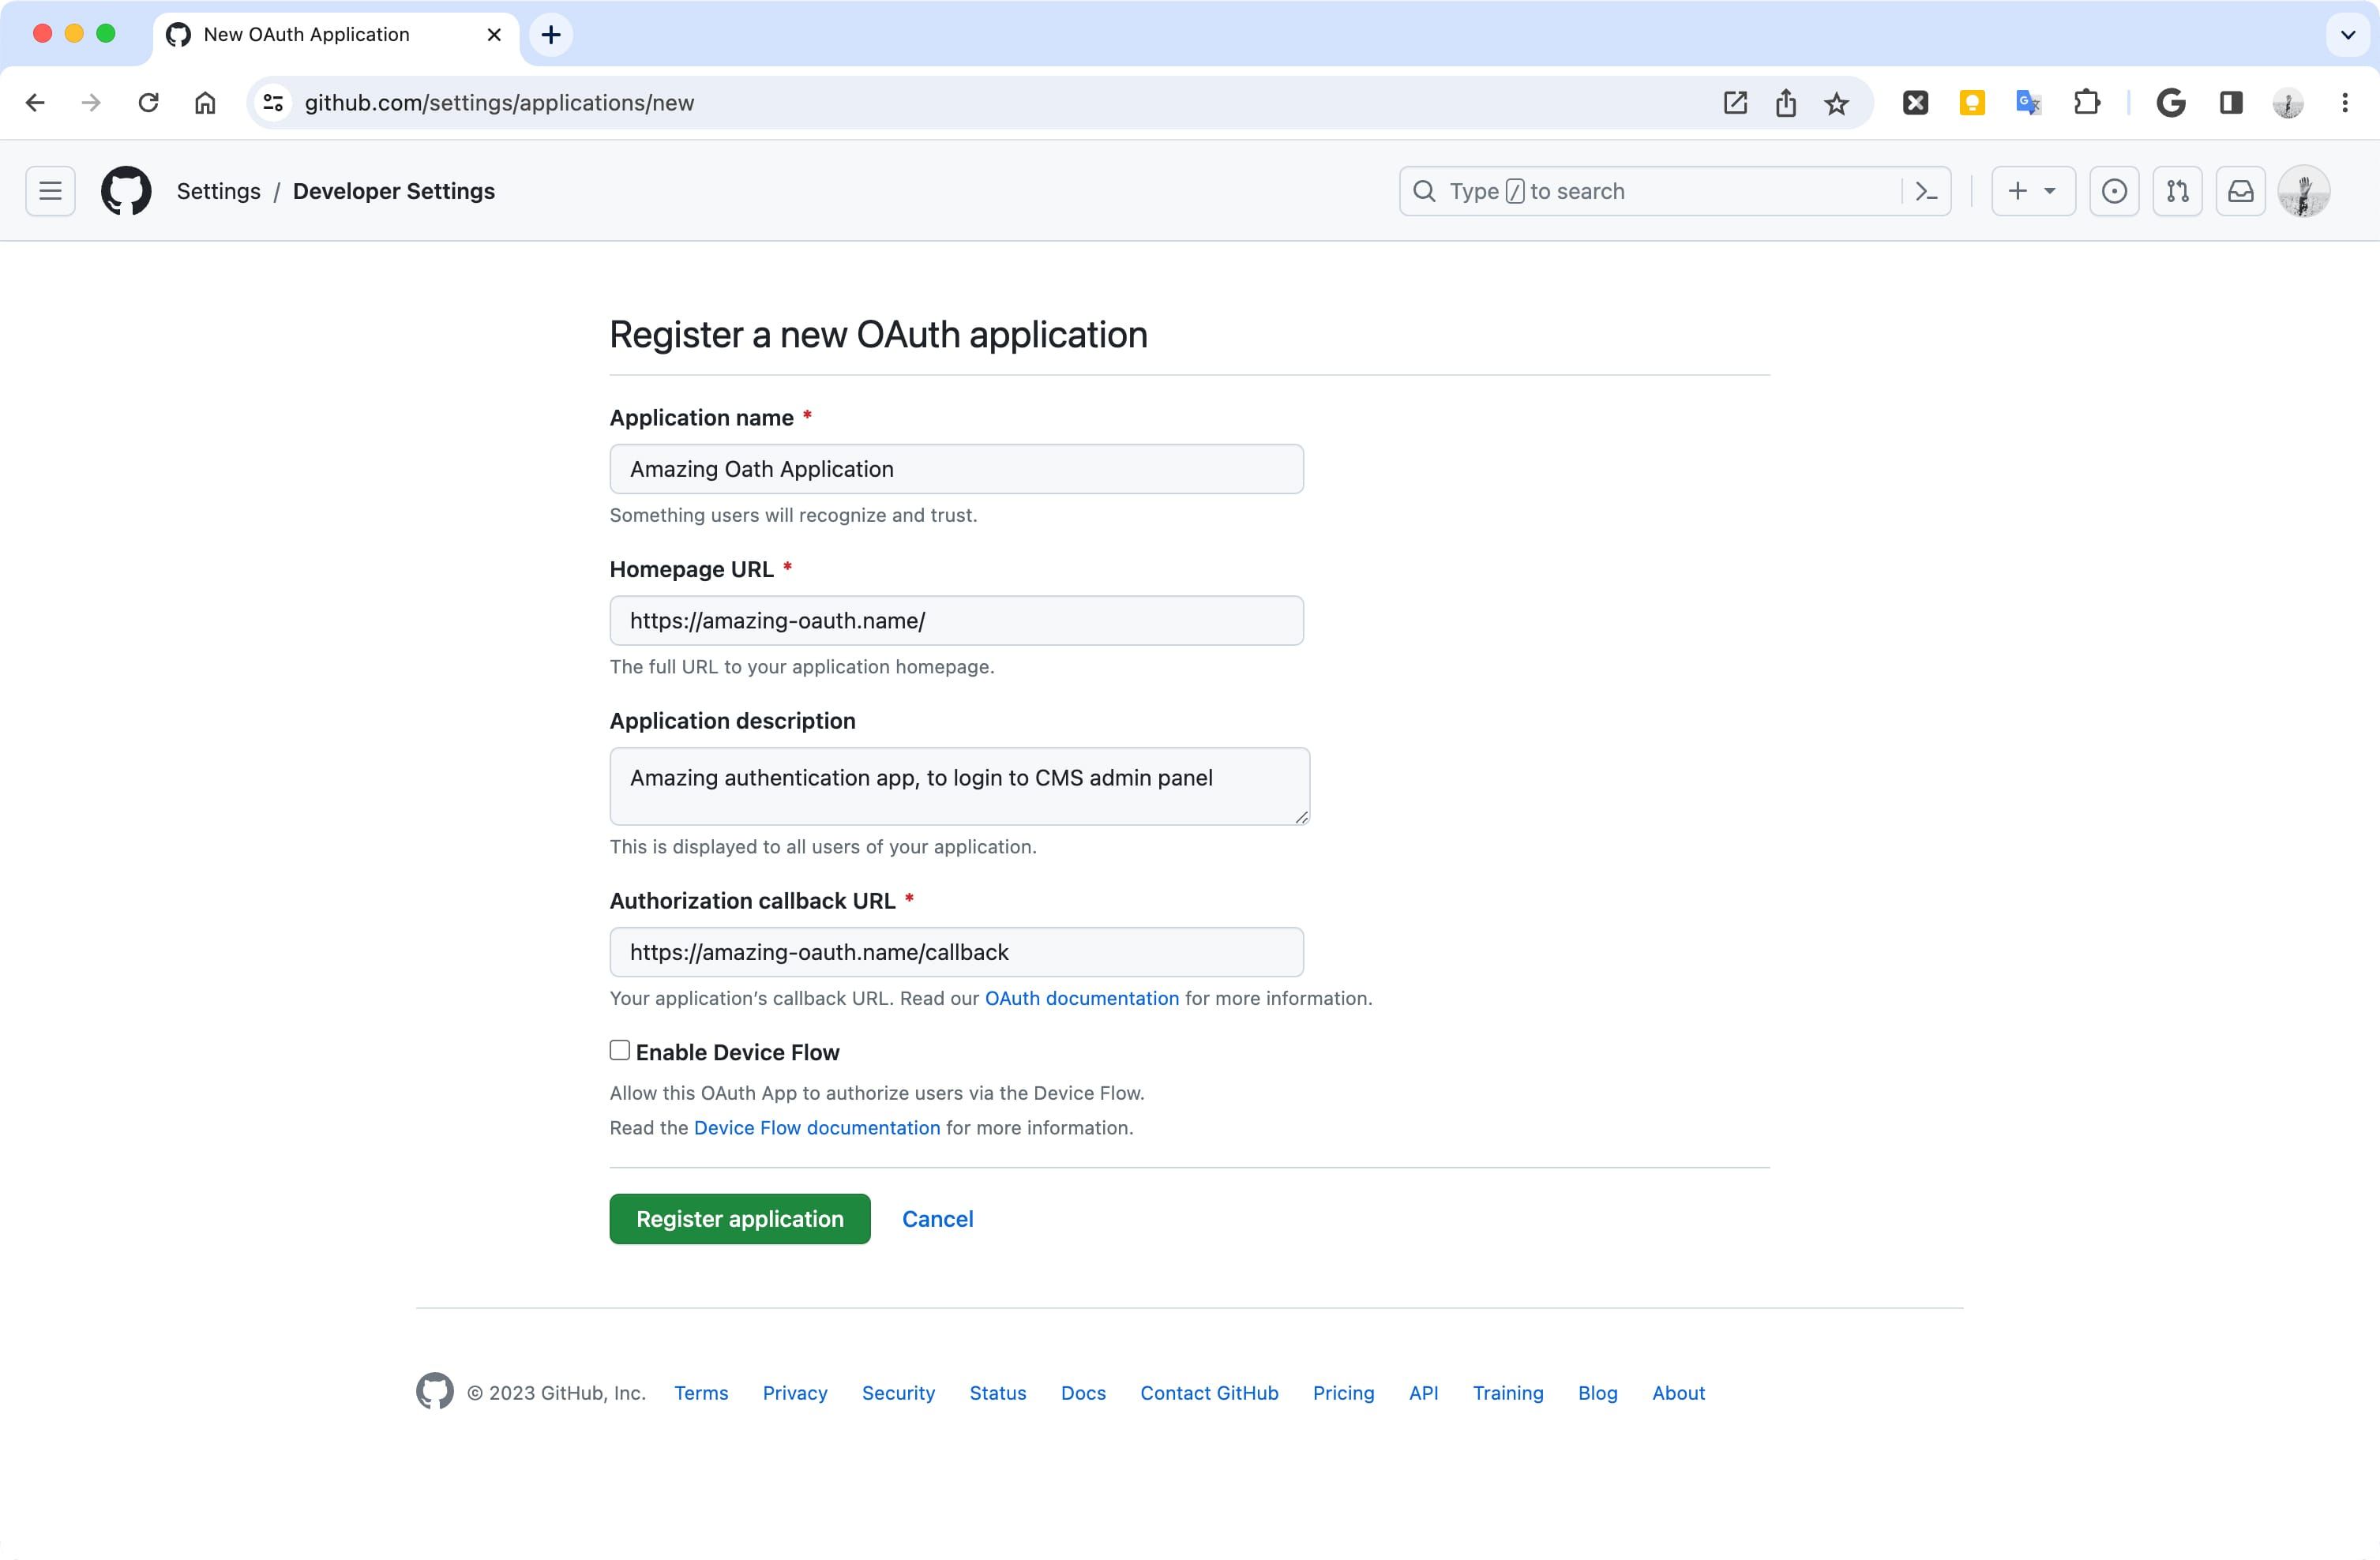
Settings > Developer Settings > OAuth Apps > Generate New - In the Application name field, enter a name for your application.
- In the Homepage URL field, enter the URL of your website.
- In the Authorization callback URL field, enter the URL that will be redirected to after authentication. This URL will depend on your Decap CMS backend. In this post, we will set the callback URL to ${siteURL}/callback.
Once you have entered all of the required information, click Create Application.
Something like this:
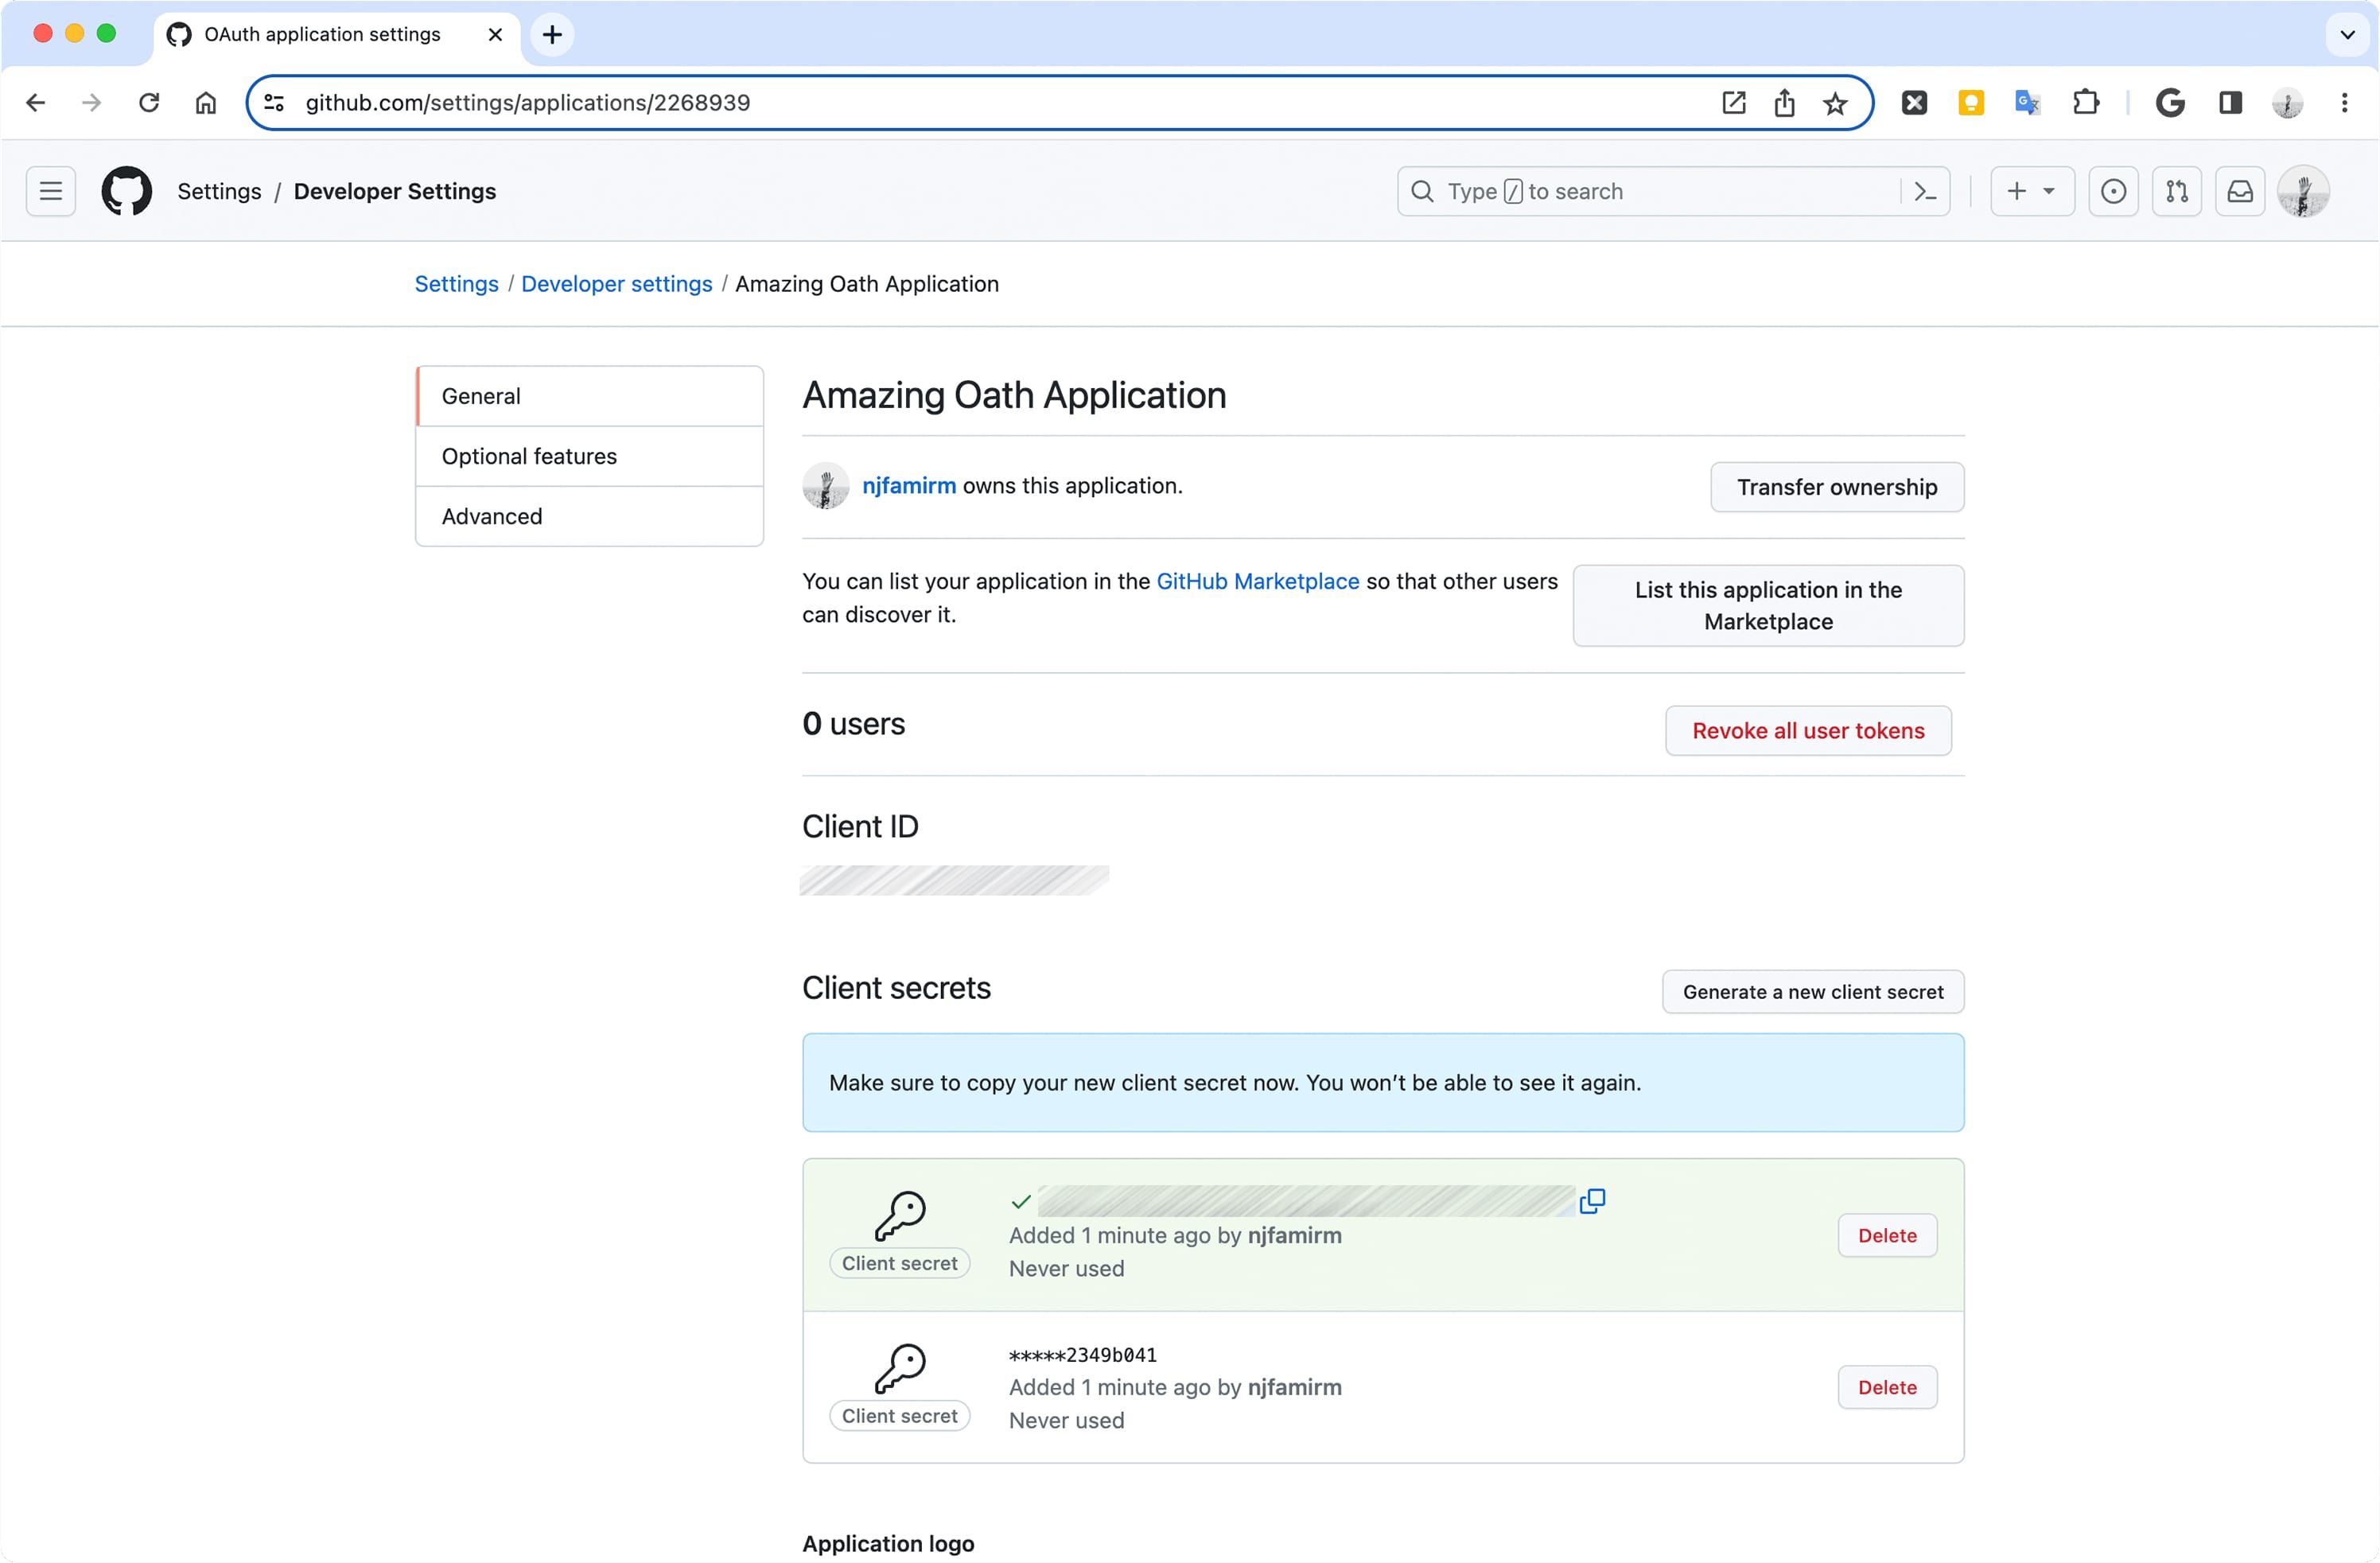
Then when the application is created, save the Client ID and create new Client secrets for use in the last step, We will need these values to configure the Decap CMS backend.
Step 2: Add CMS to the Website
After creating the OAuth application, we need to add the Decap CMS to our website, first, you must install Decap-CMS in your typescript/javascript based project:
npm install netlify-cms-app

# yarn add netlify-cms-app
Then add admin html file and javascript/typescript file, in html required to add noindex meta tag to prevent search engine index admin panel, and in javascript file, we need to import netlify-cms-app and call init method to initialize the admin panel.
admin.html
<!doctype html>
<html>
  <head>
    <meta charset="utf-8" />
    <meta name="viewport" content="width=device-width, initial-scale=1.0" />
    <meta name="robots" content="noindex" />
    <title>Website | Admin Panel</title>
  </head>
  <body>
    <script type="module" src="admin.js"></script>
  </body>
</html>
admin.js
import CMS from 'netlify-cms-app';

CMS.init();
If you're using Hugo, to add an admin panel to the
/adminaddress, you can addadmin/_index.mdto thecontentfolder and also_default/admin.htmltolayouts.
To speed up load time you can use a Javascript bundler to minify and treeshake the netlify-cms-app package, I'm use @alwatr/nano-build as a bundler, but you can use any bundler you want.
Step 3: Setup Backend
Based Decap-CMS documentation
you can use an external OAuth client.
I'm testing ublabs/netlify-cms-oauth with vercel and this work correctly, but our goal was to run on our own servers, not on another PaaS! so I'm rewriting this to run with NodeJS with packages I was using! and publish them to decap-cms-github-backend, this repo also publishes a docker image of Decap CMS GitHub backend to ghcr.io, so we can use this to deploy own backend!
You can also customize the scope of the OAuth application in this custom backend by setting the OAUTH_GITHUB_SCOPE environment variable. See Github Documentation.
Now you can add a docker image into your deployment process with this envs:
CMS_BACKEND_IMAGE='ghcr.io/njfamirm/decap-cms-github-backend:1.2.0'
OAUTH_GITHUB_CLIENT_ID='maybe-secret'
OAUTH_GITHUB_CLIENT_SECRET='secret'
DOMAIN='decap-demo.njfamirm.ir'
OAUTH_GITHUB_SCOPE='public_repo'

# Enable debug logging
# CMS_BACKEND_DEBUG=1
Note: Always check the latest releases on the GitHub repository for the most up-to-date version.
and docker compose like this:
services:
  cms-backend:
    image: ${CMS_BACKEND_IMAGE}

    restart: unless-stopped

    environment:
      - OAUTH_GITHUB_CLIENT_SECRET=${OAUTH_GITHUB_CLIENT_SECRET}
      - OAUTH_GITHUB_CLIENT_ID=${OAUTH_GITHUB_CLIENT_ID}
      - ALWATR_DEBUG=${CMS_BACKEND_DEBUG-}
      - OAUTH_GITHUB_SCOPE=${OAUTH_GITHUB_SCOPE-}
Step 4: Setup Admin config
Amazing, almost all thing is done, just need to add Decap-CMS into the admin config.yml file like this:
backend:
  name: github
  branch: main
  repo: njfamirm/amazing-oauth
  base_url: https://auth.amazing-oauth.name/
Now when you deploy the backend, can login by going to the https://amazing-oauth.name/admin page and get access to the CMS to push commit, create and merge PR in your repo!
Conclusion
In this tutorial, we have learned how to host our own Decap CMS backend without the need for another external service.